
Blooming
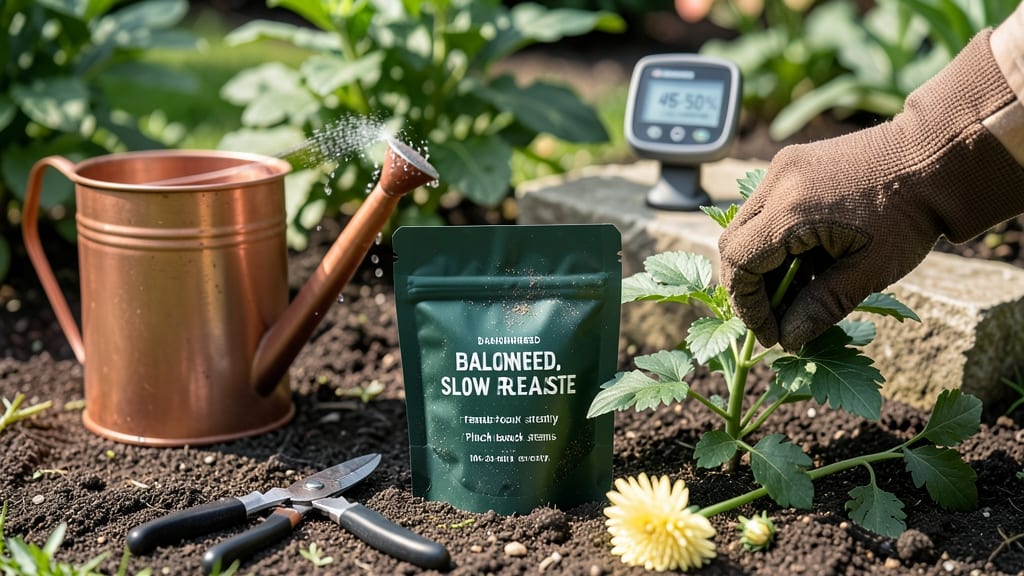
Your mums are throwing a one-bloom pity party this year—but here’s how to get your mums to bloom again. 🌼 The secret lies in pruning at the right time and understanding their heat triggers, two things most gardeners miss.
I’ve nursed back three stubborn mums in my own yard, and the difference between a single sad bloom and a bush full of color comes down to timing and a little extra care.
First, prune in early spring—not fall—as soon as new growth appears. Cut back the previous year’s stems by half, but leave a few buds at the base to encourage branching.
Then, when summer heat hits, mums need full sun for at least 6 hours daily, but afternoon shade in hot climates prevents stress. Too much shade or late pruning? That’s how you end up with just one lonely bloom.
By late summer, you’ll see fresh growth shooting up, and with the right fertilizer (high phosphorus for blooms), those side branches will burst into color.
My mums now put on a show from mid-September through frost, and the key was treating them like the finicky divas they are—give them what they need when they need it.
This works for both garden mums and potted varieties, though container plants need extra attention to soil moisture. The payoff? A garden that stays vibrant long after other annuals have faded. Let’s get those blooms back—your neighbors will be asking for your secret.
📚 In This Guide
- What you need
- Instructions
- Tips and common mistakes
- Wrapping up and next steps
What you need
- ● Sharp pruning shears or bypass pruners – Clean, sterilized, and sharp (avoid dull tools that can damage stems).
- ● Garden gloves – Durable, cut-resistant gloves to protect your hands from thorns and dirt.
- ○ Pruning saw (optional but helpful) – For thicker stems that shears can’t handle.
- ● Fertilizer with balanced NPK (10-10-10 or 20-20-20) – 2-3 tablespoons per plant (follow package instructions).
- ● Slow-release granular fertilizer or compost – 1 cup per plant for long-term nourishment.
- ○ Heat source (optional but effective) – Heat mat or heating cable (for container-grown mums).
- ● Grow lights (LED or fluorescent) – 12-14 hours of light daily if natural light is insufficient.
- ● Watering can with a fine rose attachment – For gentle, deep watering without disturbing the soil.
- ● Mulch (straw, pine needles, or shredded bark) – 2-3 inches thick to retain moisture and regulate soil temperature.
- ● Hormone rooting gel – If you plan to propagate cuttings from pruned stems.
- ● pH test kit – To ensure soil pH is between 6.0-6.5 (ideal for mums).
- ● Epsom salt (magnesium sulfate) – 1 tablespoon per gallon of water for a quick nutrient boost.
- ● Insecticidal soap or neem oil – To treat pests like aphids or spider mites that may stress your plants.
- ● Thermometer (soil or air) – To monitor temperature triggers for blooming (50-60°F nights are ideal).
Instructions for reviving mums and encouraging repeat blooms
Here's the method I've used to bring back my mums year after year—no fancy tricks, just the right timing and care.
✂️ Step 1: Prune Correctly After First Frost
Wait until after your first hard frost when the foliage turns brown and dies back completely. This is your cue that the plant has entered dormancy. Using clean, sharp pruners, cut back the stems to about 2-3 inches above the ground. I always sterilize my tools with rubbing alcohol first to prevent disease.
Don't rush this step. Pruning too early can stimulate new growth that won't survive frost. You'll know you've waited long enough when the leaves have crisped up and fallen away naturally. This heavy pruning removes spent growth and prepares the plant for next year's blooms.
🌱 Step 2: Apply Winter Mulch for Protection
Spread a 3-4 inch layer of mulch around the base of your mums, keeping it about 2 inches away from the stems to prevent rot. I use shredded hardwood mulch because it breaks down slowly and provides consistent insulation. This layer protects the roots from extreme cold and temperature fluctuations.
Don't skip this step—mums are tender perennials in many climates. The mulch also helps maintain even soil moisture during winter thaws. Check the mulch in late winter to ensure it hasn't compacted or settled too much, which could reduce its insulating properties.
☀️ Step 3: Provide Consistent Moisture in Early Spring
Once new growth appears in early spring—typically 4-6 weeks before your last frost date—start watering deeply once a week. Water at the base of the plant in the morning to allow foliage to dry before evening. You'll see new shoots emerge from the center of the plant, indicating it's breaking dormancy.
This is where many gardeners go wrong. Overwatering now can lead to rot, while underwatering stresses the plant. Stick your finger 1-2 inches into the soil—if it feels dry, it's time to water. Aim for soil that's moist but not soggy.
🌿 Step 4: Fertilize at the Right Time
Apply a balanced, slow-release fertilizer (10-10-10) when you see 4-6 inches of new growth. I use about 1 tablespoon per plant, working it gently into the top inch of soil. This timing gives the plant energy to develop strong roots before putting energy into blooms.
Don't fertilize too early—new growth needs time to establish before flowering. You'll notice the leaves become deeper green and more vigorous within a few weeks. This is your signal that the plant is responding well to the feeding.
⏰ Step 5: Deadhead and Prune for Continuous Blooms
When flowers begin to fade, pinch off the spent blooms just above a set of leaves. This encourages the plant to produce more flowers instead of setting seed. I do this every 2-3 days during peak bloom season to keep the plant looking tidy and productive.
After the first major flush of blooms, cut back the stems by about one-third to promote bushier growth. This second pruning happens when flowers start to look tired, usually 6-8 weeks after initial blooming. You'll often get a second round of flowers from this pruning, extending your display by several weeks.
Tips & tricks for reviving mums and encouraging repeat blooms
Let me share the insights I've picked up after years of bringing back my mums—these small details make all the difference between a sad, leafless bush and a vibrant, flowering star.
Timing is Everything: In Step 1, when you're pruning after the first frost, wait until the foliage has completely browned and crisped. I've learned the hard way that pruning too early can shock the plant—it needs to be fully dormant. Look for stems that snap easily when bent; this is your perfect cue. Also, use clean pruners each time to prevent spreading disease between plants.
Mulch Matters More Than You Think: For Step 2, don't just pile on mulch—place it strategically. Keep that 3-4 inch layer about 2 inches away from the stems to prevent rot. I've noticed that mulch piled directly against stems can create a moisture trap. Also, check your mulch in late winter—if it's compacted, fluff it up to maintain proper insulation.
Spring Watering Wisdom: When new growth appears in Step 3, water deeply but infrequently. I've found that watering at the base in the morning gives the plant time to dry out before evening. A good test is the finger check: if the top 1-2 inches of soil feel dry, it's time to water. Overwatering now can actually drown tender new shoots.
Fertilizer Timing and Technique: In Step 4, when you see that 4-6 inches of new growth, apply your 1 tablespoon of fertilizer gently. I've noticed that working it into the top inch of soil rather than just sprinkling on top gives better results. This timing is crucial—applying fertilizer too early can lead to leggy growth that won't support blooms well.
Pro Tips for Get Your Mums To Bloom Again
- Let me share the insights I've picked up after years of bringing back my mums—these small details make all the differ...
- Timing is Everything: In Step 1, when you're pruning after the first frost, wait until the foliage has completely bro...
- Mulch Matters More Than You Think: For Step 2, don't just pile on mulch—place it strategically. Keep that 3-4 inch la...
Frequently asked questions
Got questions about reviving your Hemerocallis (commonly called "mums") for another stunning bloom? You’re not alone! Here are some of the most common concerns—and straightforward answers—to help you get back to enjoying those vibrant flowers.
Why aren’t my mums blooming a second time this year?
Mums often need a heat trigger to rebloom. If your first flush faded without a second wave, it could be due to inconsistent temperatures, lack of sunlight, or improper pruning. Try exposing them to 60–70°F days and cooler nights (50–60°F) for 2–4 weeks to kickstart blooming. Also, check for overcrowding or nutrient deficiencies!
When is the best time to prune mums for repeat blooms?
Prune right after the first bloom cycle ends (late summer) to encourage reblooming. Cut back dead or faded flowers to the nearest leaf node, but avoid heavy pruning—this can stress the plant. For fall prep, trim back by ⅓ to ½ in early autumn to promote winter hardiness and next year’s growth.
Do mums need special care after the first bloom to rebloom?
Yes! Consistent watering (1–2 inches per week) and balanced fertilizer (10-10-10 or bloom booster) every 4–6 weeks help. Mulch around the base to retain moisture and regulate soil temp. Pro tip: Avoid overwatering in winter—mums need dormancy to rebloom!
Can I force mums to rebloom in hot climates?
Hot climates (above 80°F) can stunt reblooming, but you can trick them! Move pots to partial shade during peak heat, or use shade cloth (30–50%). For in-ground mums, provide afternoon shade. Bonus: Some heat-tolerant varieties (like ‘Autumn Beauty’ or ‘Stella de Oro’) handle warmth better—check your labels!
What if my mums still won’t rebloom after trying everything?
Don’t lose hope! Mums can be finicky. Try dividing overcrowded clumps every 3–4 years, or test your soil pH (aim for 6.0–6.5). If all else fails, treat them as annuals—they’ll still give you one gorgeous show! For next year, focus on proper pruning and heat triggers.
Still stumped? Drop your specific mum variety or growing conditions in the comments—we’re happy to help troubleshoot!
Wrapping up and next steps
Bringing your mums back to life isn’t just about patience—it’s about understanding their needs and giving them the right care at the right time. With proper pruning, heat triggers, and a little TLC, you can enjoy those vibrant blooms year after year! 🌸
Now that you’re armed with the know-how, take action—start with one plant, observe, and adjust as needed. Your garden’s next burst of color is just a few steps away!